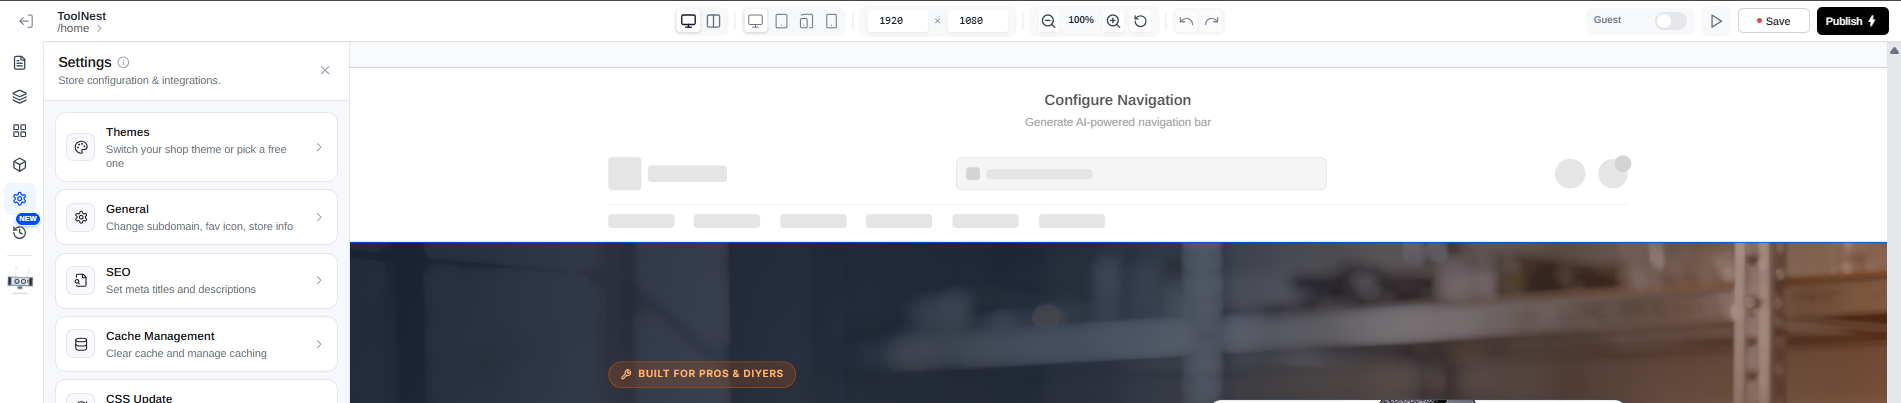

Layouts
The Layouts tab in the Builder lets you drop in ready-made sections for your store. If you want to change your navbar or footer, this is where you do it.
Open the Layouts option from the Builder's left menu to browse the available sections.
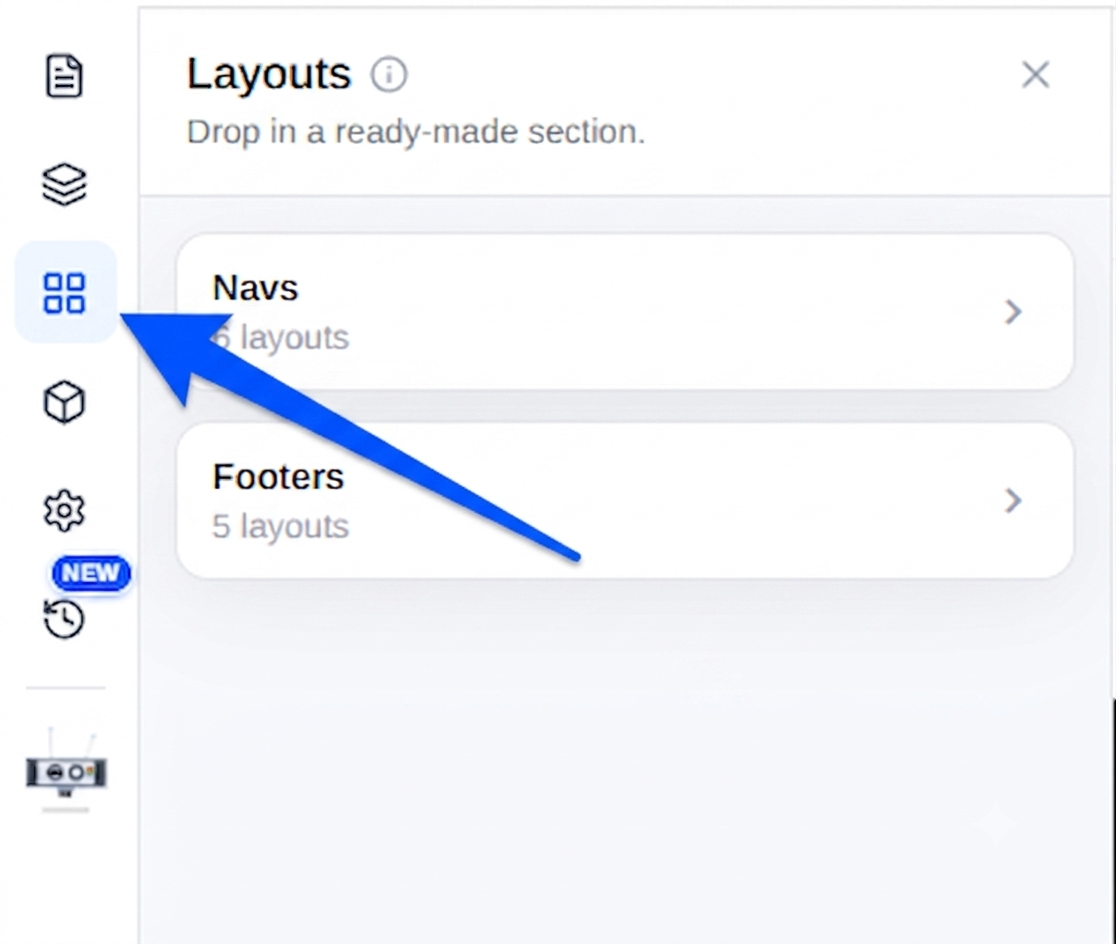
Using a layout
- Open the Layouts tab from the left menu.
- Expand a group such as Navs or Footers.
- Click the design you want, it is added to your store.
- Adjust it as needed, then publish your changes.
Navbar and footer customizations
Merchants can customize both the navbar and the footer in two ways: with AI or by selecting a pre-built template.
- Pre-built templates. Expand Navs or Footers and pick a ready-made design. These drop straight in, but their design can't be modified directly through AI-generated code.
- Custom (with AI). Use AI to generate the code for a navbar or footer, then tweak it however you like, either with more AI prompts or by hand in the code editor.
Creating a custom navbar or footer
Generate the code with AI
Click the AI icon on the section to generate a custom navbar or footer. Describe what you want (for example a modern, responsive navbar for a hardware store with a logo, centered links, and cart & search icons), and AI builds it and confirms with Navigation updated.
Refine it
You can keep prompting AI to adjust the design, colors, links, and behavior. Each change is applied and confirmed in the chat.
Edit the code manually
For finer control, click the </> Code icon to open the Edit Navbar Code
editor. Update the generated HTML and CSS by hand (or with AI assistance), then
click Apply Changes.
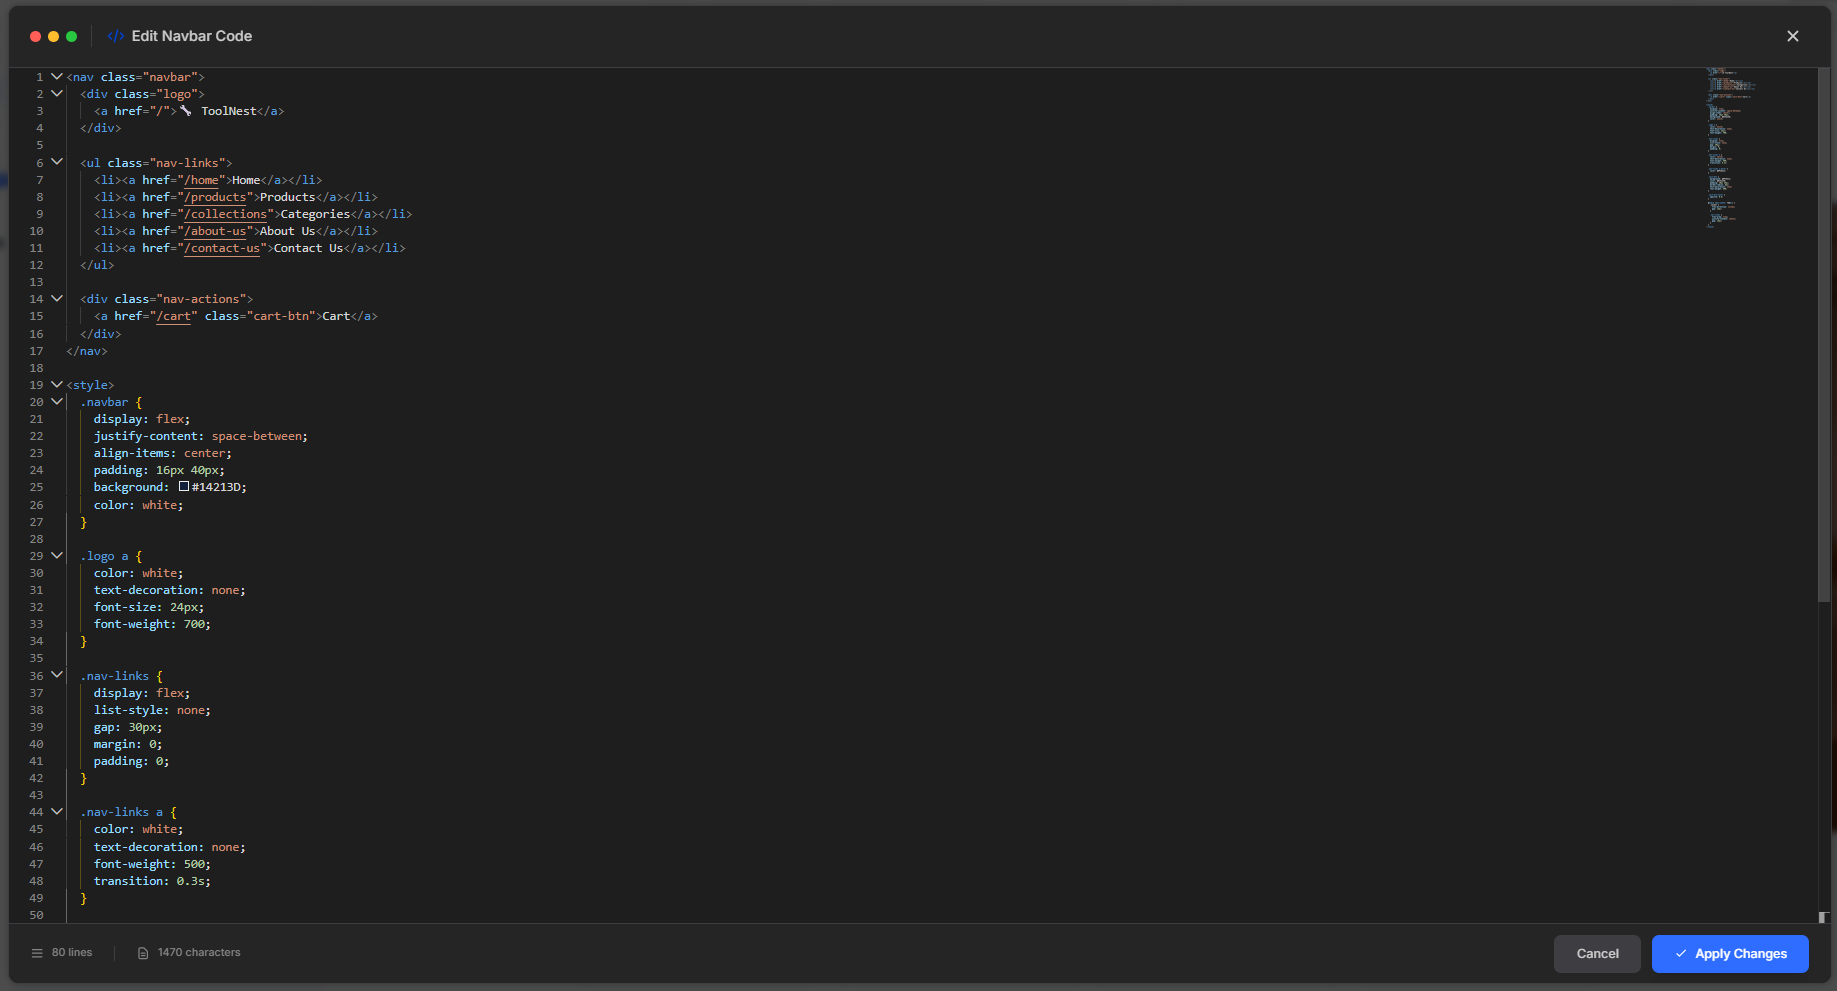
</> Code icon to edit its code by hand or with AI, exactly
like the navbar.Save and publish
When your navbar or footer looks right, use the toolbar at the top:
- Save, save your changes as a draft.
- Publish, make the changes live on your store.